Pages

Samstag, 30. August 2014

Crazy-green-chicken-feeding-Stays

Huzzah!
I have finished my stays this morning! Before breakfast!
After a months break I finally added the lining and am now done with stays for the rest of this year.
Most likely...

1776 Stays
The Lining:

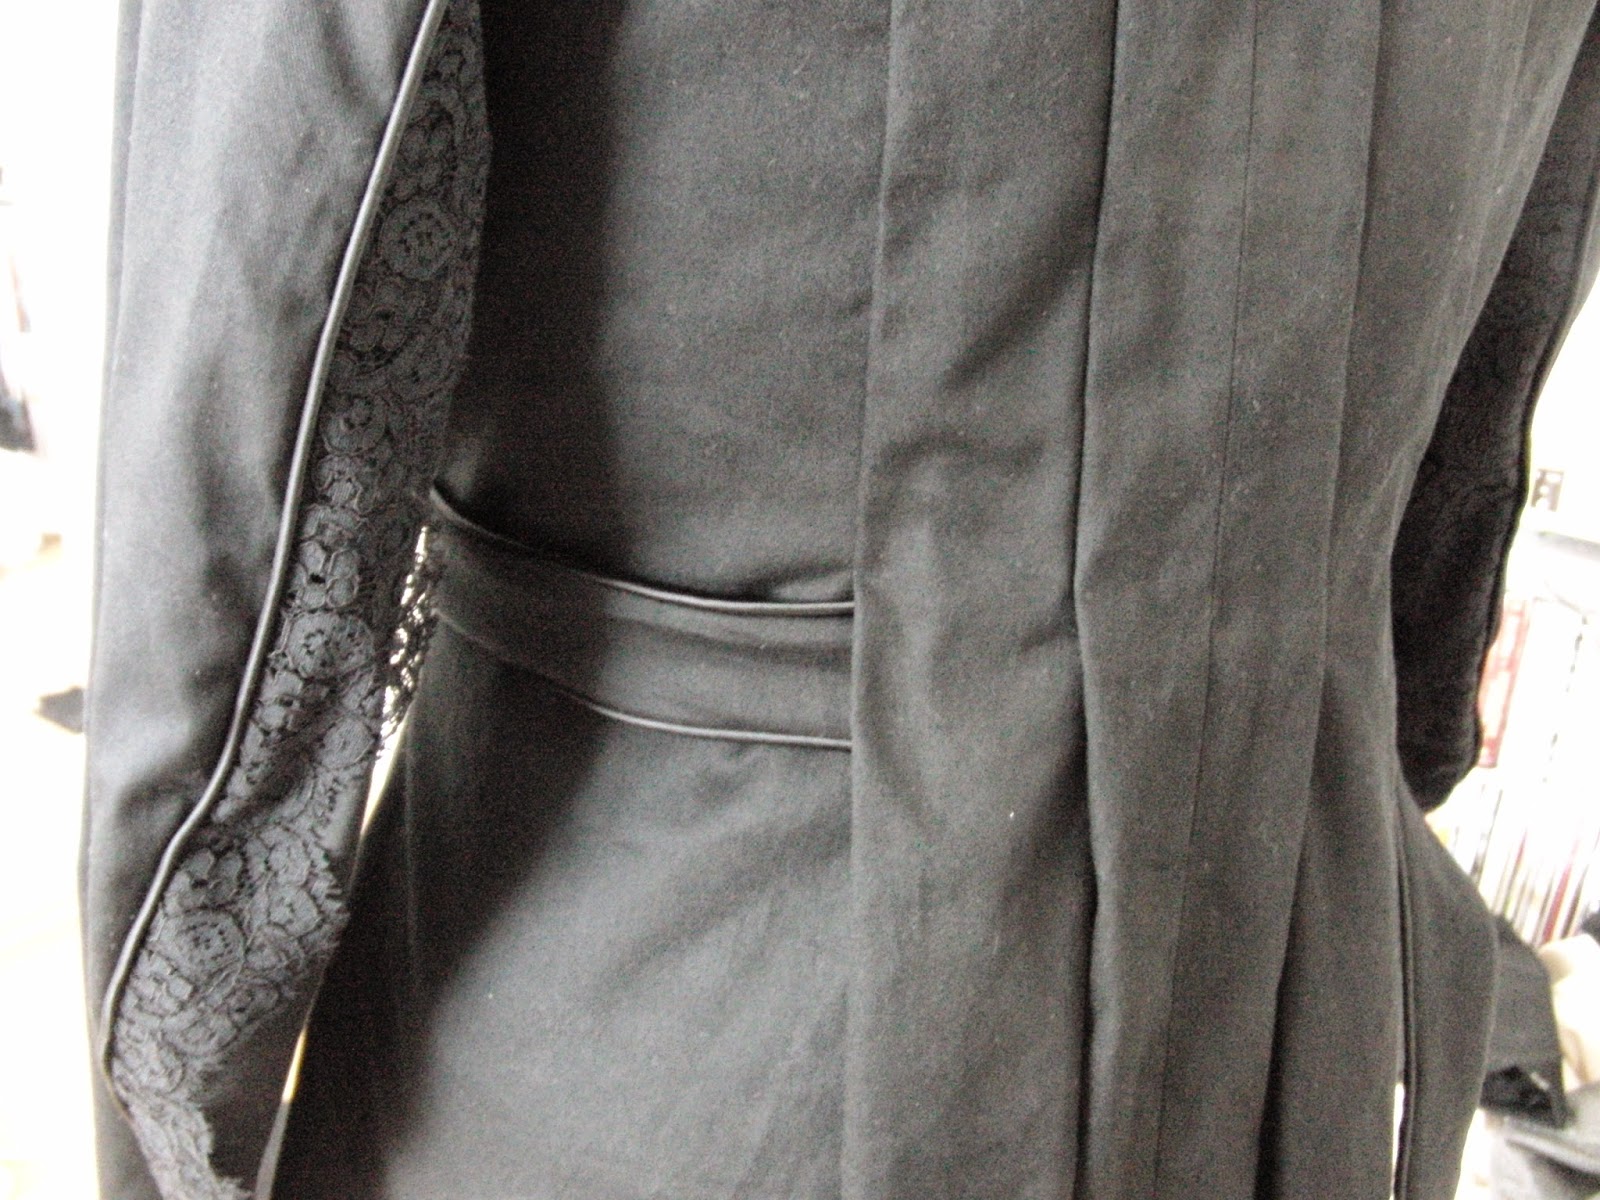
The lining is made from white cotton batiste. Every tab is lined separately to make it easier to remove and wash the lining after use. This way only the main piece has to be removed and relined and the fiddly tab part only has to be done once.
Of course I wouldn't do this without a test run on my precious test piece!!!


 The shoulder straps and part of the front are lined separately, too. Since eyelets are required for the shoulder lacing and it would be nasty to remake them after relining I decided on separate lining here, too.
On this picture you can also see the horizontal boning. I used three strips of german fishbone instead of the four indicated in the pattern. There is additional boning over the shoulder blades, too.
Tab lining


For the rest of the lining I used the pattern without the tabs and shoulder straps. The front and side seams are sewn by machine and then pressed. The seam allowance is 0,5cm and turned under before attaching the lining to the stays using ladder stitch.
This way I have a neat finish on the inside as well.

1776 Stays
And because I could fit these into the Historical Sew Fortnightly:

The Challenge details!!!

Challenge #16 Terminology - pick an item from the The Great Historical Fashion & Textile Glossary
and make it.
My choice is a new pair of Stays lined in cotton Batiste

Fabric: Leftover scraps of cotton canvas, 0,5m cotton muslin, 0,25m cotton batiste, strips of silk
Pattern: Diderot's L`Encyclopédie "Tailleur de Corps"- Corsets and Crinolines p. 40
Year: 1776
Notions: polyester thread, german fishbone, spiral steel, flat steel
How historically accurate is it? Well, cotton is kind of OK for the late 18th C., but not with this print... Steel and plastic aren't  good as well, so not too accurate material wise. Aside from most straight seams which were done by machine the construction is accurate and handsewn.
Hours to complete: I am guessing on approx. 50 hours
First worn: finished this morning, so not yet
Total cost: Difficult to say. Absolutely everything was stash material. If I bought them new the materials might have been about 50 - 60€

And now, wthout further ado:

PICTURES

1776 Stays - front


1776 Stays - back

1776 Stays - side


A Bonus Project

Now it sometimes happenes that I have the need to be super sustainable. My leftover scraps and silk bias had to be used up! Sraps are obviously not enough to make clothing... But I am only starting my 18th Century wardrobe and every lady needs a pocket, right? Usually these pockets would have extensive embroidery, but I am using my printed cotton.

Please don't look if you are looking for accuracy.


The pattern is taken from Linda Baumgarten's Costume Close-up.
These pocket is made from the exactly same layers of fabric like the stays above. One layer cotton canvas, two layers cotton muslin and cotton batiste for the back side. The edges are bound with silk bias strips. Compared to original examples I cheated with the contents;-)

I added an additional small pocket inside to make it easy to find *cough* todays necessities...


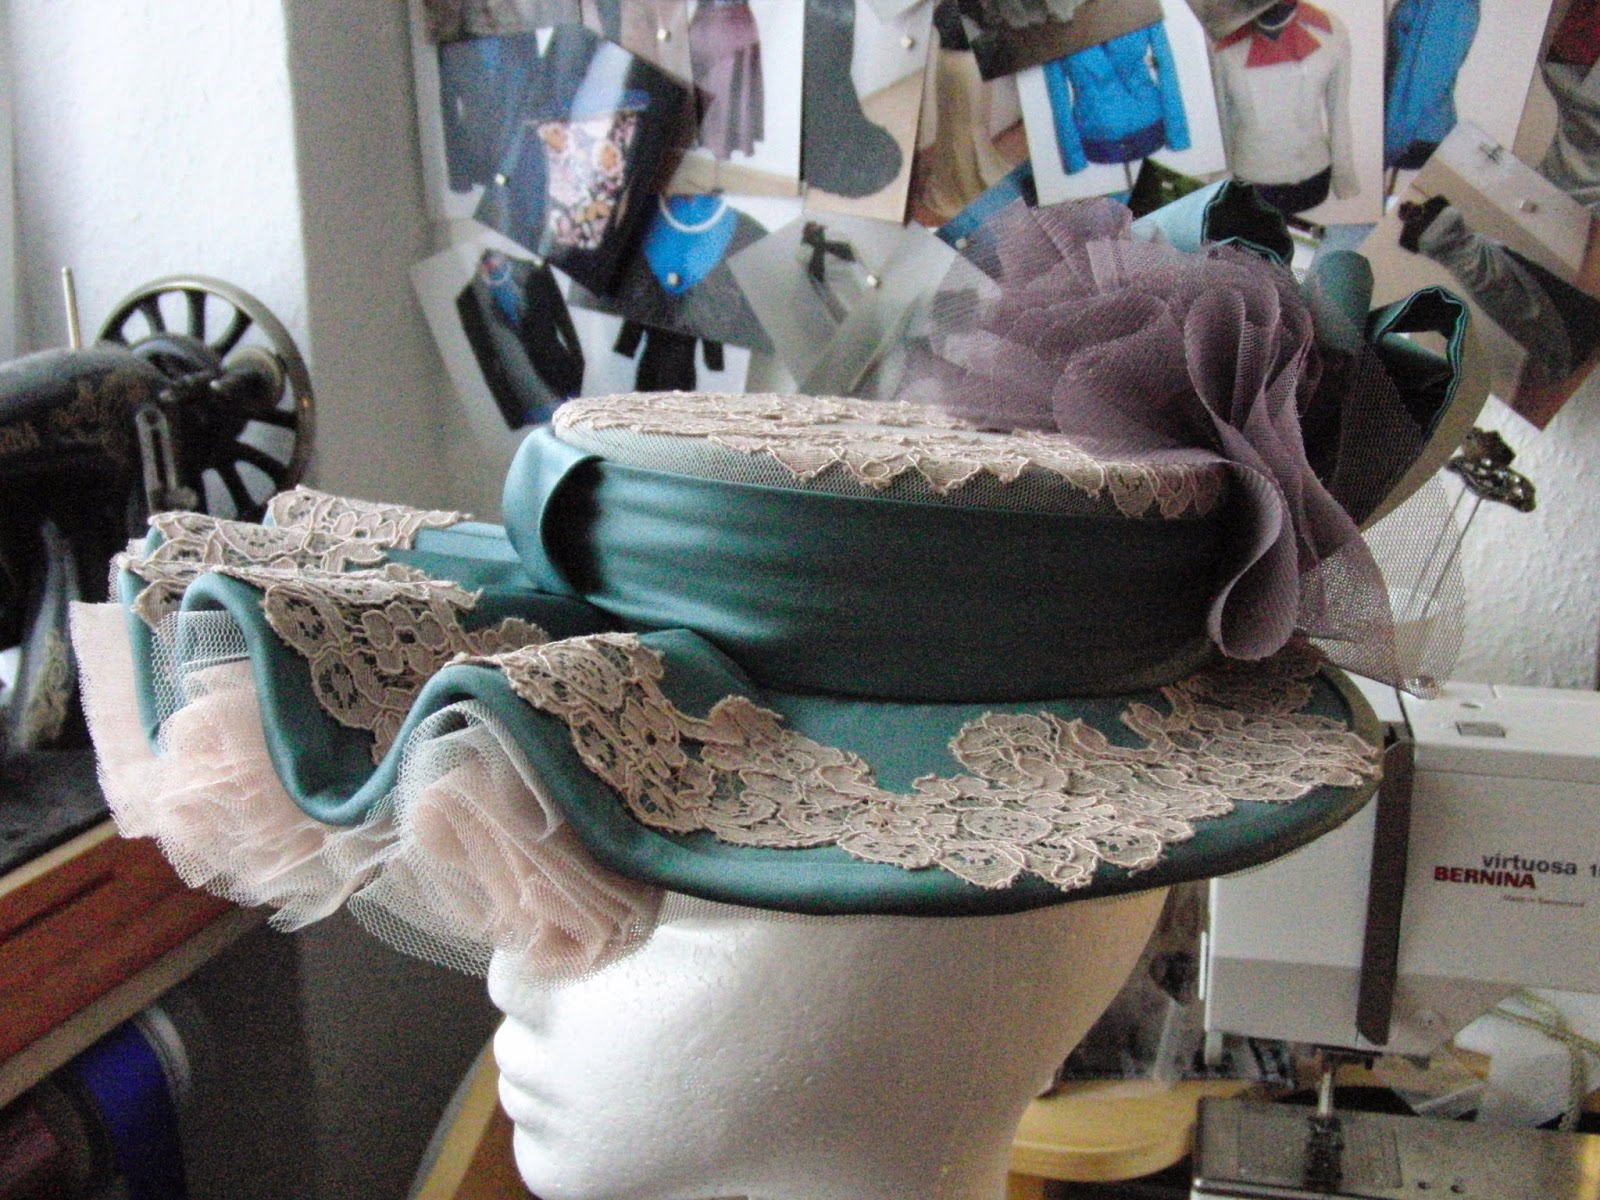
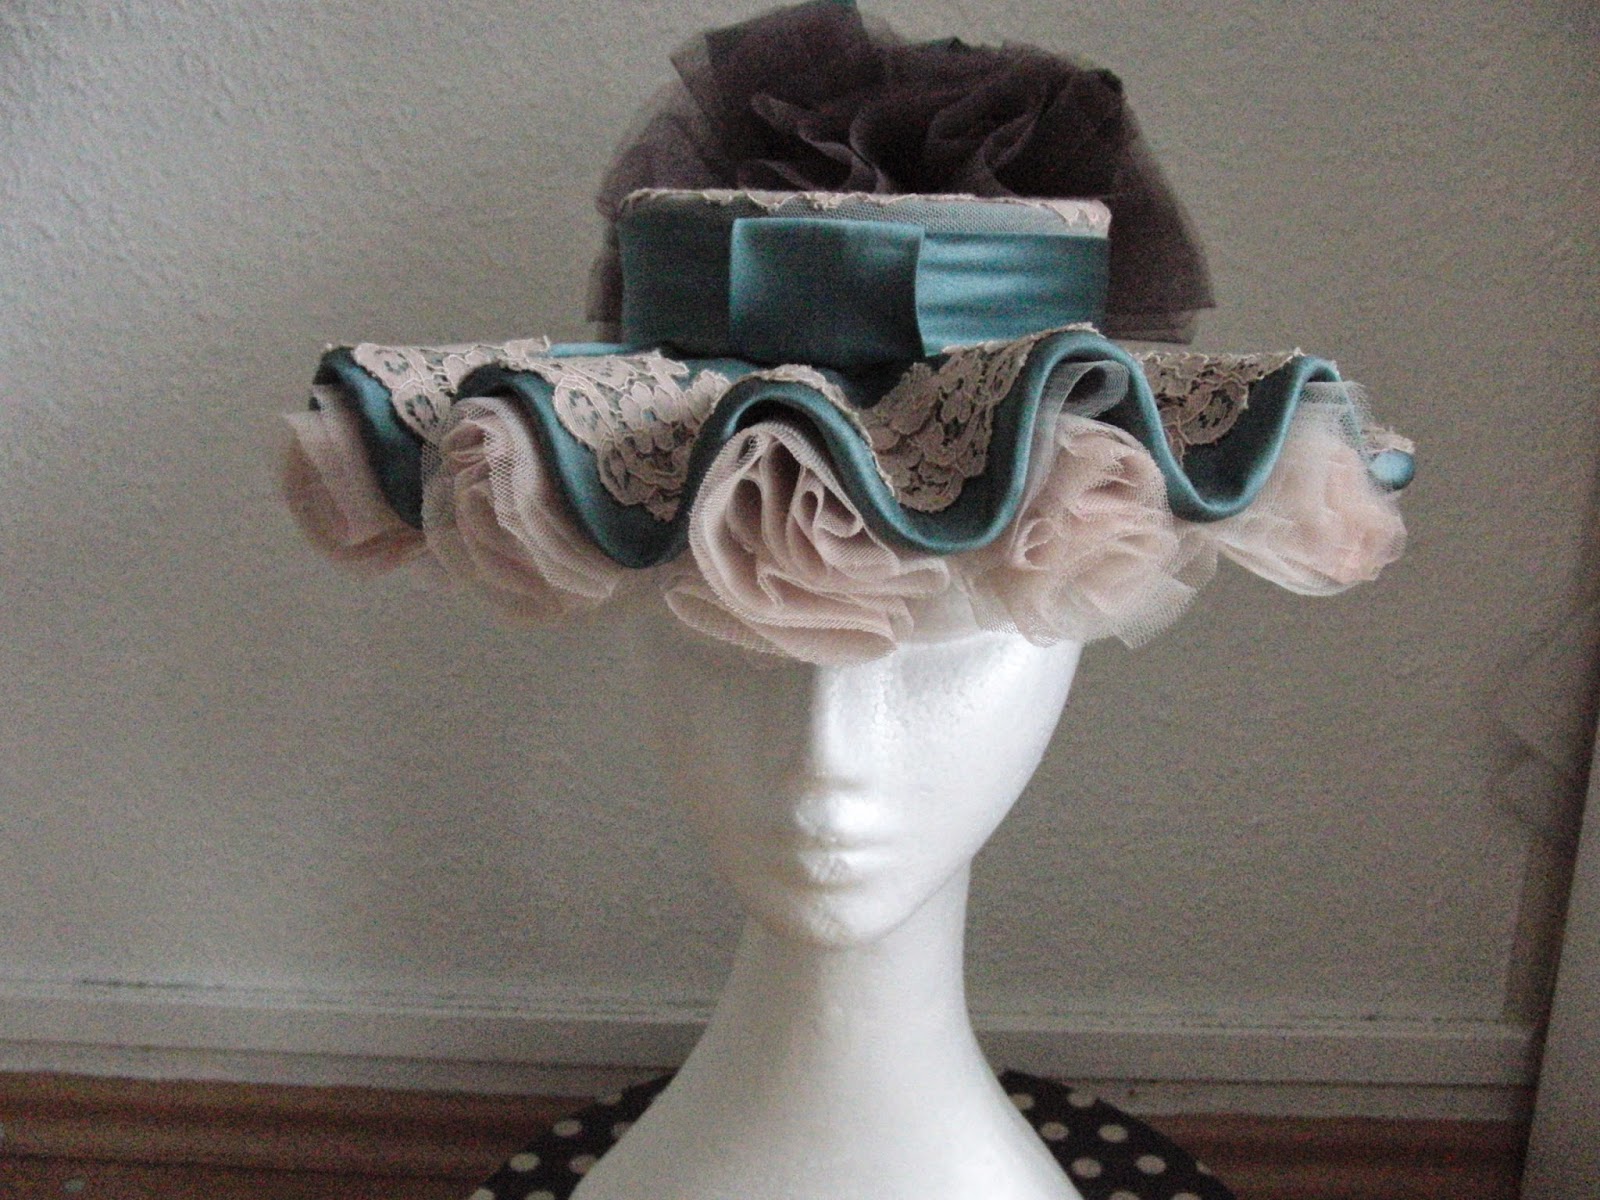
 Now that I am done with this project I have to go fabric shopping. No fun this time, though... I was stupid enough to by the WRONG tulle for my new hat. Can you imagine?

Have a lovely weekend!!!


Donnerstag, 14. August 2014

A Watteau Paletot

Time for outer wear!

For the current HSF Challenge #15 The Great Outdoors I made a Paletot. "What is that?" you may ask now and I didn't know for myself until I looked it up.

A Paletot is a three quarter length and slightly waisted mantle for both Ladies and Gentlemen. From the 18th century on a Paletot was worn in the same style like the garment underneath (Wikipedia).

I chose to use a pattern from Frances Grimble's "Reconstruction Era Fashions" p.197.

This one:
1868 Watteau Paletot


The trimmings are lace and passementerie braid. The belt looks like it is piped and the trimmings on the back of the sleeve look like they have piping as well. The sleeves seem to have an additional lace cap sleeve. There are three single lace ornaments on the pleats on the back. I don't have fitting ornaments, so my pleats will be plain without decorations.
A funny detail is the zig-zag collar which I will alter slightly to be put on a fabric base.


Let's go!!!


The pattern pieces waiting to get used. For the facing I will use the same pattern pieces. The collar is a rectangular piece of fabric.


Mock-up 1                                                                      Mock-up 2


Arrgh! My fabric is not wide enough to cut on the fold... The fabric is the same twill I used for my 1740-1760 Stays - only in black. After cutting the fabric the pleats are made on the back and  front. Since the construction is not very different from modern mantles I won't give too many details...


Testing the hem trimming on a scrap piece of fabric
The pleats are sewn inside along the inner fold. I then attached them inside by hand.

 Preparing the piping on the sleeve...                                 ....and the first sleeve finished.


Whoop whoop!
It starts to look like something to wear!!!

The facing is attached right sides together, the seam allowance is clipped and ready to turn inside-out.


attaching Lace and Braid on the hem of the Paletot

A first attempt to see the fit with the belt underneath the pleats.

The collar trimming is made from 2,5cm wide satin ribbon


Inside look with collar and facing.
The pointy-edge-satin-ribbon-collar.


Lace cap sleeves


 The Challenge facts:

#15 - The Great outdoors
A Watteau Paletot

Fabric:  3m cotton twill, 0,75m polyester lace

Pattern: Frances Grimble's "Reconstruction Era Fashions" Page 197

Year: 1868

Notions: Polyester threat, satin ribbon, satin bias tape, polyester braid

How historically accurate is it? Pattern and trimmings are good, but the materials used are not exactly... 

Hours to complete: ca. 15

Total cost: ca. 45€


Hem detail

Sleeve detail


Montag, 4. August 2014

Waves+ Loops+ Tulle+ Lace = Awesome Belle Epoque Hat

My 2nd Belle Epoque hat is finally finished! Nearly 6 month after I started this hat I attached the last decorations and the lining yesterday.
Although the pattern wasn't exactly easy (Lynn McMasters pattern for four different Belle Epoque Hats) I am very happy with the outcome. The most challenging part for me was to form the brim in the desired curvy shape and then cover these waves with fabric.
Since I wrote quite much about this project already, I am showing you lot's of pictures instead of writing:-)

Presenting: The Incognito Function :-)


A you can see the originally planned two-toned frill didn't survive. The already cut darker tulle will be used in the back decoration instaed. After sewing the frills underneath the curvy part, the under-brim is then covered with one layer of the same tulle completely.


To make the stitches as invisible as possible, I used a very thin and transparent thread of unknown material.


The upper decoration is containing the previously cut 5 tulle circles and loops from the same satin like the hat.
The loops are formed from one strip of fabric which is attached to the hatband with the tulle in the middle. The decorations are located at the centre back of the hat.


Belle Epoque Hat without lace on the crown tip

The dark tulle is actually a bit lighter than in this picture. The back of the hat lies in the shadow...


Since the hatband is not fixed to the hat it could be worn by itself. Although I have no idea for which period or occasion...


The lining is from black cotton poplin and contains a drawstring to regulate the width. I also attached a hat elastic to fix the hat around my head.

The optional lace piece for the crown tip is attached before adding the hatband


The loops are filled with stiff netting to keep them up


Lucky me: the hat fits exactly in the box

fashion plate