Pages

Dienstag, 29. Juli 2014

Binding Day

Guess what I have been doing all day???
After I finished the tab-binding yesterday, today was another binding day.


Yesterdays achievement


 Before I started to bind the top edge I added one row of horizontal boning to achieve the desired round bust. More rows will be added when the binding is finished.


 And here we are!!

The binding is done and I am happy with the outcome. Though I have no idea why the right strap wouldn't lie as flat as the left side. Maybe it's due to the horizontal boning?
I'll figure that out tomorrow...

Aahw... My new crazy-green-chicken-feeding-stays


Please admire my tab-binding!


Montag, 28. Juli 2014

More Stays!!!

I still can't quite believe that I finished my first pair of stays this week and everytime I see them a big smile is appearing on my face:-)


After admiring them nonstop for about 1,5 days I decided I needed a new sewing project involving my sewing machine!
What to do? I have another (the last) week at home ahead so there is plenty of time for something awesome to make! So I had a browse in my stash and reviewed my UFOs and mock-up's with the following result:

Let's make some Stays!!!

Ah, I know I said I wanted some rest for my fingers, but then I found this lovely fabric and my mock-up of a pair of stays I started some 6 month ago and I have all that time, so why not? Tab-binding does not scare me anymore!!! 

ugly stay mock-up
 You think I'm crazy, don't you???

To the right you can see the old mock-up of the stays I planned to make for my first 18th century dress, which now unfortunately is postponed to most likely next year. The dress will be based on a painting from 1776 and so it seemed the right thing to do to try the 1776 Stays from "Corsets and Crinolines".

Lucky me! I can even use this as a HSF challenge! #16 Terminology gives so many options that I can sew my stays and participate.

The fabric for this project will be an upholstery cotton canvas I bought to cover my chairs (which I did) and then had a huge leftover...
Reason: the minimal purchase was one metre and since my chairs are not exactly big and the fabric has a width of 2,8m I have a reasonable amount to make some stays!


I started on thursday afternoon to adjust the used pattern to fit me and then cutting my fabric. The interlining and lining will be the same as for the other stays, but the boning will be a mixture of german fishbone, spiral steel and flat steel. My intention here is simple: the mock-up was made using plastic boning and I didn't like how it bend in some boning channels... The steel will be used at the centre front, centre back and side seams.


 The design of the fabric is showing a girl feeding chickens, surrounded by flowers, garlands and other pretty things. The oval is the eye-catcher and therefore should be placed somewhere central. Unfortunetely the centre front seam is not a straight one, but I tried my very best to match the image as good as possible.
Find the pattern pieces!!!!

The stays are not fully boned, but I added some more boning channels than indicated in the pattern.
All sewing exept for the eyelets and the binding is done by machine!


I kind of managed to match the design until underneath the oval frame. But since my focus is on the chicken-feeding scenery I am good with that...


Boning supplies

They start to look a little like stays...
 After the boning was insereted (earlier today) it was finally time to think about the binding. I originally planned on using a white satin ribbon for the binding, but it didn't work out...

Not a difficult decision...
 ....on my test piece. Since I really wanted a white binding I didn't care to think about an alternative for a second.
Until I made my test binding. The satin looked horrible! And by the way, fabric binding is a lot more difficult than leather binding!
So I went back to my stash and pulled out the fabric for the dress I planned and decided to make my own bias strips from pink silk. The colour goes nicely with the green of the cotton and since I will wear these stays with the dress from the same fabric it is ok.
I am confident that there will be enough to make my dress and the bias binding for the stays.
I bought the fabric at the sale of our local opera house. They only do it once in 2-3 years and I was very happy that a friend pointed out to me that there would be a sale this year. I have been there once before with my mum many years ago and remembered rows and rows of costumes, hats, shoes and more.
But I didn't go for the costumes this time.
They also had a fabric sale for totally crazy prizes! I found the perfect fabric for my dress. Pure silk for 3€ per metre!!!! Can you believe it? I bought everything they had left and that was a good amount of 11 metres!
 
 So now, not even a week after finishing the leather binding of my 1740-1760 Stays it is Binding-Time again!


Mittwoch, 23. Juli 2014

OMG! The stays are done!!!!!!

Congratulations! It's a pair of stays!!!!
1740- 1760 Stays

I can't believe it!!! I am so happy right now, that I'll possibly write some nonsense...

Hurraaaaah!!!!

Miles and miles of handsewing paid off and now I am the proud owner of 18th century reproduction stays!!! Waaah!!!
In the end it took 5,5 days to sew my pair of stays. Today I finished the tab binding, so before I continue to cheer I am giving you some more construction details:


The leather binding is attached with backstitch and then folded to the underside. The backstitching actually took longer than fixing the binding to the interlining. My guessing was exactly opposite...

So, after doing this I started to sew the strip to the tabs and soon realised, that it would have been a good thing to use boning in my testpiece. Those curves were not so easy, as I had hoped... My result on the first two tabs was quite bulky and so I changed my strategie to cutting a scallop here and there instead of the cuts. 


To prevent the fabric from fraying I cut the needlepoint "curves" at the very last moment before attaching the binding.


The inside look of the finished tab binding. Here you can see the rounded edges I have cut.


After so many days of handsewing my poor fingers sure deserve a holiday!!!


HSF Challenge details:
The Challenge: #12 Shape & Support - 1740- 1760 Stays

Fabric:  0,5m Cotton twill as fashion fabric, 1m cotton as interlining, 0,5m cotton batist as lining

Pattern:"Costume Close-Up" by Linda Baumgarten

Year: 1740- 1760

Notions: kid skin, reed, polyester and cotton thread

How historically accurate is it? I am giving myself very generous 95%. Cotton would't have been used in that period and we don't have to talk about the thread. 

Hours to complete: ca. 60

First worn: Not made for me, so I will never wear them:-(
Total cost: ca. 55€

Here we go!!!!
OMG, I still can't belive that I have finished these stays!!!!!!


To form the hip section I steamed and formed the tabs.

Comparison with the detail picture in Linda Baumgarten's "Costume Close-Up" - 1740- 1760 Stays

187 boning channels in perfection!!!!


What do you think about these????

Dienstag, 22. Juli 2014

Concerning Leather Binding

CAUTION!
What fallows is a very long post again!

Ok, now I know for sure, that stays like mine are not done in two to three days. And not in four. At least not by me.
Maybe 6???

As you can imagine I've been working hard on the binding of my stays from Linda Baumgarten's "Costume Close-Up"...
My first step of the binding preparation was remembering an article (on foundationsrevealed.com) I once read about stay and corset binding, so I searched for it to refresh my memory.
The tutorial is very good, but unfortunately not applicable on leather for all steps...

Since I didn't want to ruin my newborn stays I made a testpiece first. (I am getting used to test pieces...)

Have a look:


 My testpiece has been a testpiece before... I used my pattern to cut two tabs exactly the size on my stays.
My testpiece
 Then I started sewing on a 2,5cm wide leather strip around the edge like described in the tutorial I mentioned above.


 To test the look I used two different stitches for the test tabs: backstitch and running stitch


Then I folded the leather to the under-side and attached it to the lining, again using two different methods to compare.

On the left side I made small cuts and stretched the leather a lot to go smoothly around the tab.
On the right side I used bigger cuts, which made it easier to achieve the curvy shape.

Which one to choose?

 I am going for the small cuts.
Easier is not always better... Sure the right side was easier, but I am a really careful person when it comes to things I have never done before. I am just too scared that the big cuts would make an ugly sight and also that the leather would snap.

So much for the outside curves.

Now the inside curves (again two methods):

To make an easy way around this needlepoint corner I made a cut at the centre of the curve. This was quite easy and neat, both inside and outside.
BUT, when I stretched the leather to lie flat on the backside the cut teared open even further... Not good.


For the second option I decided not to make any sharp cuts or anything that would invite the leather to make exactly the same as above. So I cut out the piece as shown in the picture below. The now narrower strip can be folded around the inner edge much easier (but not as easy as the big cut, sigh..) and minimizes the risk of damage to the leather.


Now the right-side picture you have been waiting for:

Left:                                                                   Right:
Running stitch, big cuts, cut on the inner edge        Backstitch, small cuts, section cut out on the inner edge

Right it is!!!

Since I am not tatally crazy I will start the comfortable (well, as comfartable as it can be) top-edge of my stays...

Tools to use:
big scissors (for the leather), small scissors (for the thread), pincer (is that the right word? - to pull the needle out of the mass of fabrics, tweezers (to pull my thread in delicate situations) and an ordinary handsewing needle. And thread.
NO LEATHER NEEDLE!!!
I made the experience, that a leather needle would indeed cut easily through leather of any kind, but due to its sharp triangle point it also gives the perfect start-up for a (very much feared) fissure.  
So an ordinary needle it is:-)
My binding tools

Let's do it!!!

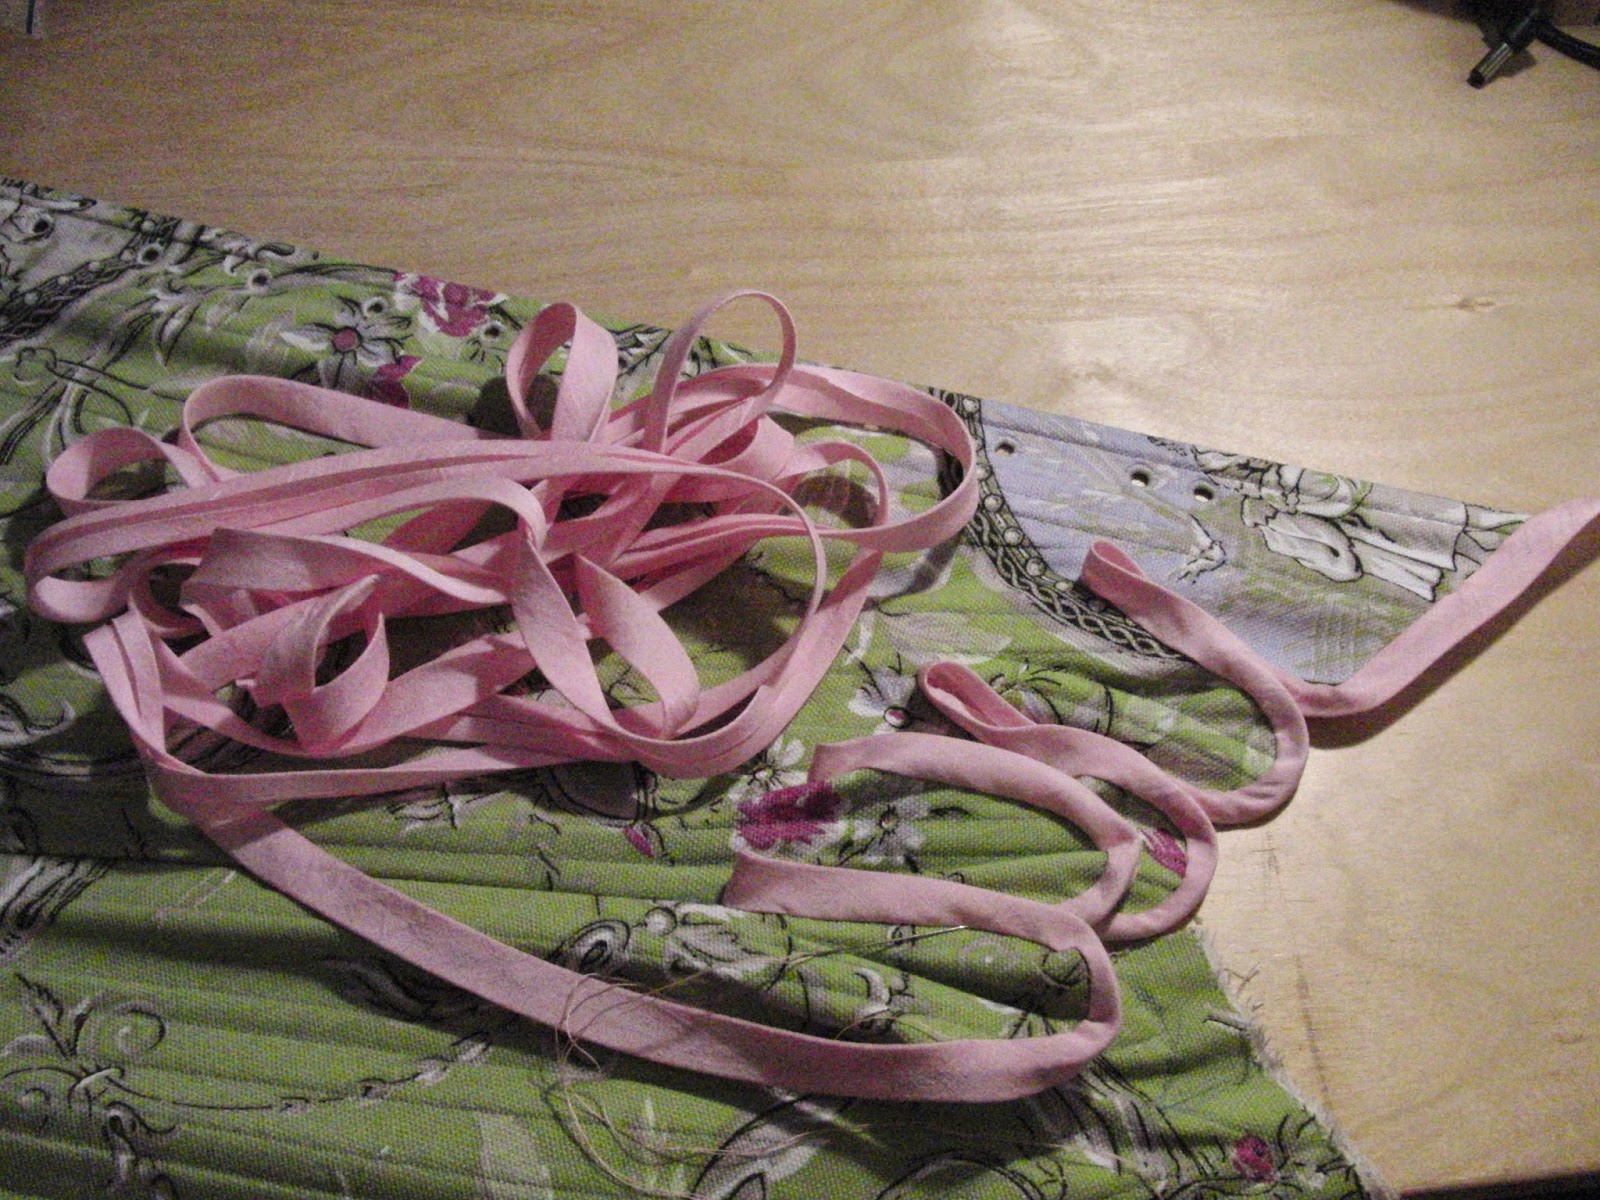
My, er, binding to be


My leather strips are 2,5cm wide as tested on my testpiece.
I used a rather small backstitch to sew the leather to the stays, making sure to have a relativly small seam allowance like the original stays.

Leather strip sewn to the stays, right sides together

Phew, halway there...
 Silly me said: "The worst part is done! One only has to pull the leather back and attach it, right?"
WRONG!
The first small binding challenge arrived not even 10cm later, when I was faced with an edge. Folding the leather over the edge woul produce a bulk I wanted to avoid. Therefore I made a cut where the tutorial told me to fold.


Ah, le voilà!! Good edge!


Now it appeared that my former goat wasn't a big one, so my strip was not long enough to cover the entire top. I used a very narrow overcast stitch to sew two strips together and than continue the binding as if nothing happened...


Hurrah!!!! One edge down, one to go...


Leather binding inside and outside.

fashion plate