Pages

Dienstag, 15. April 2014

#7 Tops and Toes

I am on time!!!
Deadline for this challenge is today and I finished my new hat about two hours ago!
First I thought about making stockings but then I ended up with a hat I started in february.
I bought a Lynn McMasters pattern for four different Belle Epoque Hats and could not resist to start on two of those hats straight away.

Since I am planning on making a 1898 afternoon dress this year I need a matching hat to go with it. Back in January I found a nice sample in one of my books which will now be my inspiration.

Have a look here!

The construction was quite similar to my Bustle Era hat so I will not give all the details...


For the hat base I cut out the pieces in buckram and then added the millinery wire to the outer edge of the brim and crown tip.
After the wire was attached I continued sewing together the side crown edges and then attach the crown tip to the crown sides.


Then I glued on some muslin as bias edge and mulling.
I did this on both sides of the brim and on the crown sides and tip.


Since the dress will be all black and I have lots of that fabric (cotton poplin) I am using the same fabric for the hat. The fashion fabric is sewn to the crown tip first. Then the sides and brim fallow...
I am using glue to help keep everything in place before I sew the  fabric to crown sides and brim.

The crown is then attached to the brim by hand. For the hat lining I used some leftover taffetta and black poplin. The brim edges are covered in black satin bias tape.


For the trimmings I made a 2 metre strip of black Sinamay and glued a narrow satin ribbon to the edges.  Then I formed a bow and four loops to be attached to my hat.


The hat band will be a string of pearls. I bought black coloured wooden beads which I inserted into a tunnel of black organza I made from organza ribbon. Then I tied black thread around the tunnel to form the hat band. Just like a necklace!
This alone took me about two hours!!! The Monsters of Disney's "Monsters University" kept me entertained while working on the pearls.


 A first fitting on the hat. Nothing fixed yet...


The bow and loops are sewn to a satin ribbon which is then tied around the hat crown. This way I am flexible in the style of the hat and can easily change trimmings. Mayby I am making something more colourful for my back-up trimming.


The Challenge: #7 Tops and Toes
Fabric: Sinamay, Cotton Poplin, buckram
Pattern: Lynn McMasters "La Belle Epoque Hat"
Year: 1895 thru early 20th century

Notions: satin ribbon, organza ribbon, millinery wire, wooden beads
How historically accurate is it? The pattern is accurate and the trimmings are OK as well. 85%?
Hours to complete: 15ish
First worn: just finished
Total cost: close to 50€


Lots of pictures!!!!!!!!!


Inspiration:
Finished Hat:


This bow is also optional. It can be attached on top of the back bow.


Fairytale!!

Yes, I am alive!
And I have been working on my fairytale project ever since I finished my Chemisette 3 weeks ago. But I have had so much to do at work that I simply didn't get to write anything. At least not at home...

I had difficulties to find a good fairytale for this challenge, because I did not want to work with an overly popular tale and my plans for this year must be considered as well. I asked my work colleagues for suggestions and beside of the obvious ones (Snow White, Cinderella, Little Red Riding Hood & Co.) my colleagues came up with something very nice...

DIE STERNTALER

When I came home from work that day I fetched my copy of Grimm's Fairytales and looked it up. Sterntaler (The Star Money) is a tale written by Jakob Grimm in 1813. Of course I knew the story from my childhood, but I wanted to refresh my memory. I was surprised when I discovered a length of exactly ONE page (1,5 if you count the picture) but I can tell that I read through that tale very fast...


Short story even shorter:

A poor orphant girl who has nothing left but the clothes she is wearing is giving away everything to other poor people and ends up naked in the forest. By then it is black night of course! The moment she gave away her last piece of clothing the skys open up and it starts to rain stars and golden coins and she is wearing the finest linen shift in which she is colleting the money and then is rich forever.


For challenge #10 Art I have planned a lovely 18th century Polonaise. Since I never made anything from the 18th century I am lacking all kind of underwear and support garments. My plan for this challenge #6 Fairytale is now the linen shift Sterntaler ends up with in the dark forest.

I am cheating with the fabric as I don't have any linen but still have lots of cotton batist. Of course that is not at all Fairytale accurate, but it is kind of OK for the late 18th century which I am aiming for. Although the story has been written in 1813 most tales have been written in past tense so I am good with going back a few decades.

Here we go!!!!

My plan is to make a plain shift and the add some embroidered stars to symbolise the raining fortune.

For a start I made a test piece to see if I actually can do embroidery which I have never done before!!!


The pattern is a simple diagram which has been used throughout many centurys and well into the 19th so it is fine for the 1770s as well.
Pattern and Instructions
Even though it is not accurate I will be using my sewing machine to make this shift.
I am making flat fell saems for all seams.


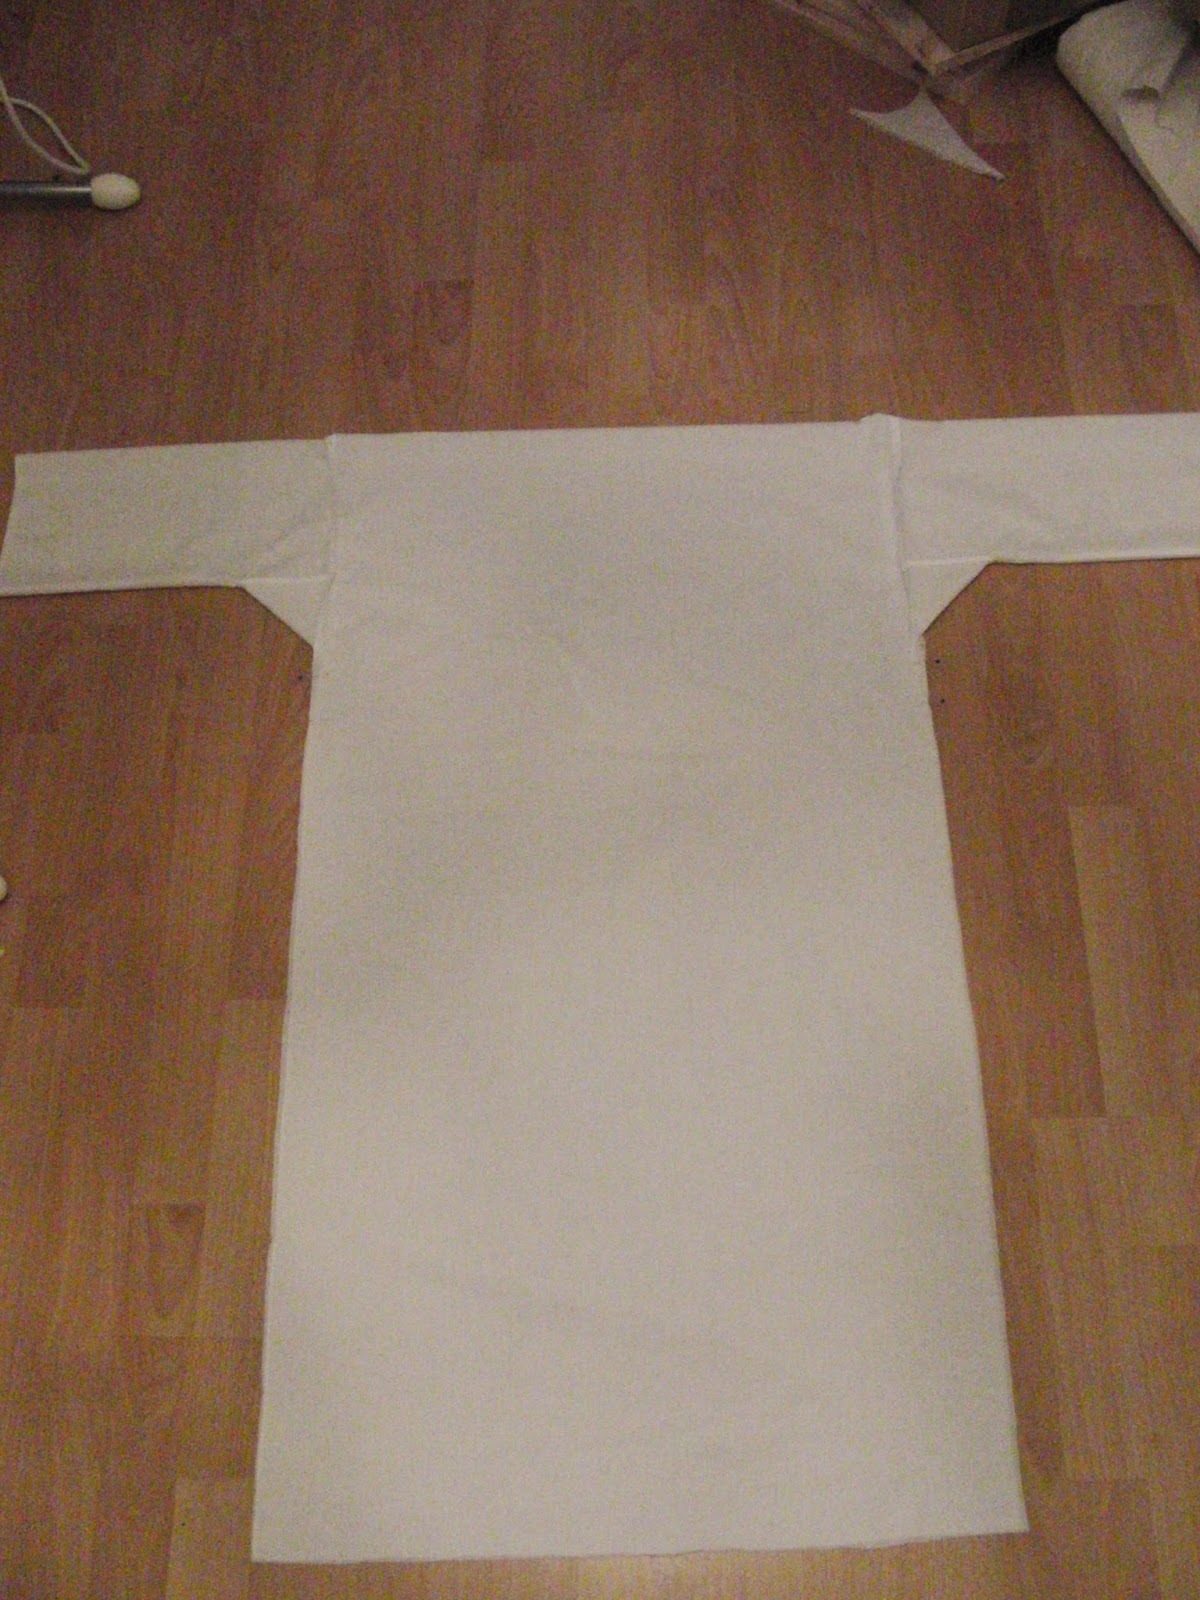
The construction was easy and quick and here is my nearly finished shift. I will do the embroidery before I cut out the neck opening.


The very first star is done!!!
 

 The challenge facts:
The Challenge: #6 Fairytale - The Star Money

Fabric: cotton batist

Pattern: Marquise.de
Year: 18th century
Notions: polyester thread
How historically accurate is it? Well... The pattern is accurate, the fabric is OK, the thread is not and sewing by machine is not as well.
Hours to complete: Maybe 5 hours including the embroidery
First worn: not yet
Total cost: 8€ for the embroidery frame and thread


 Actually I am not overly pleased with the outcome... The neckline will eventually end up square, but since I don't have stays yet I did not dare to cut out the final opening.
I wanted much more stars but my hand keeps bothering me and so I just couldn't make more.

But I decided it would be a nice thing to keep this as a running project and so I will add one star for every finished item I am making from now on!
Edit:
My shift made it into the Dreamstress' Favourites!
http://thedreamstress.com/2014/05/the-hsf-14-favourites-for-challenges-5-8/
fashion plate