My first straw hat willactually be a straw bonnet. I chose a 1840s Bonnet Pattern from (guess it) Lynn McMasters.
Here is my process diary:

This is the original hat. But not for long....

First step, as usual, was cutting the bonnet pattern from buckram. To have a smooth edge, I covered the outer edge with a muslin bias tape.
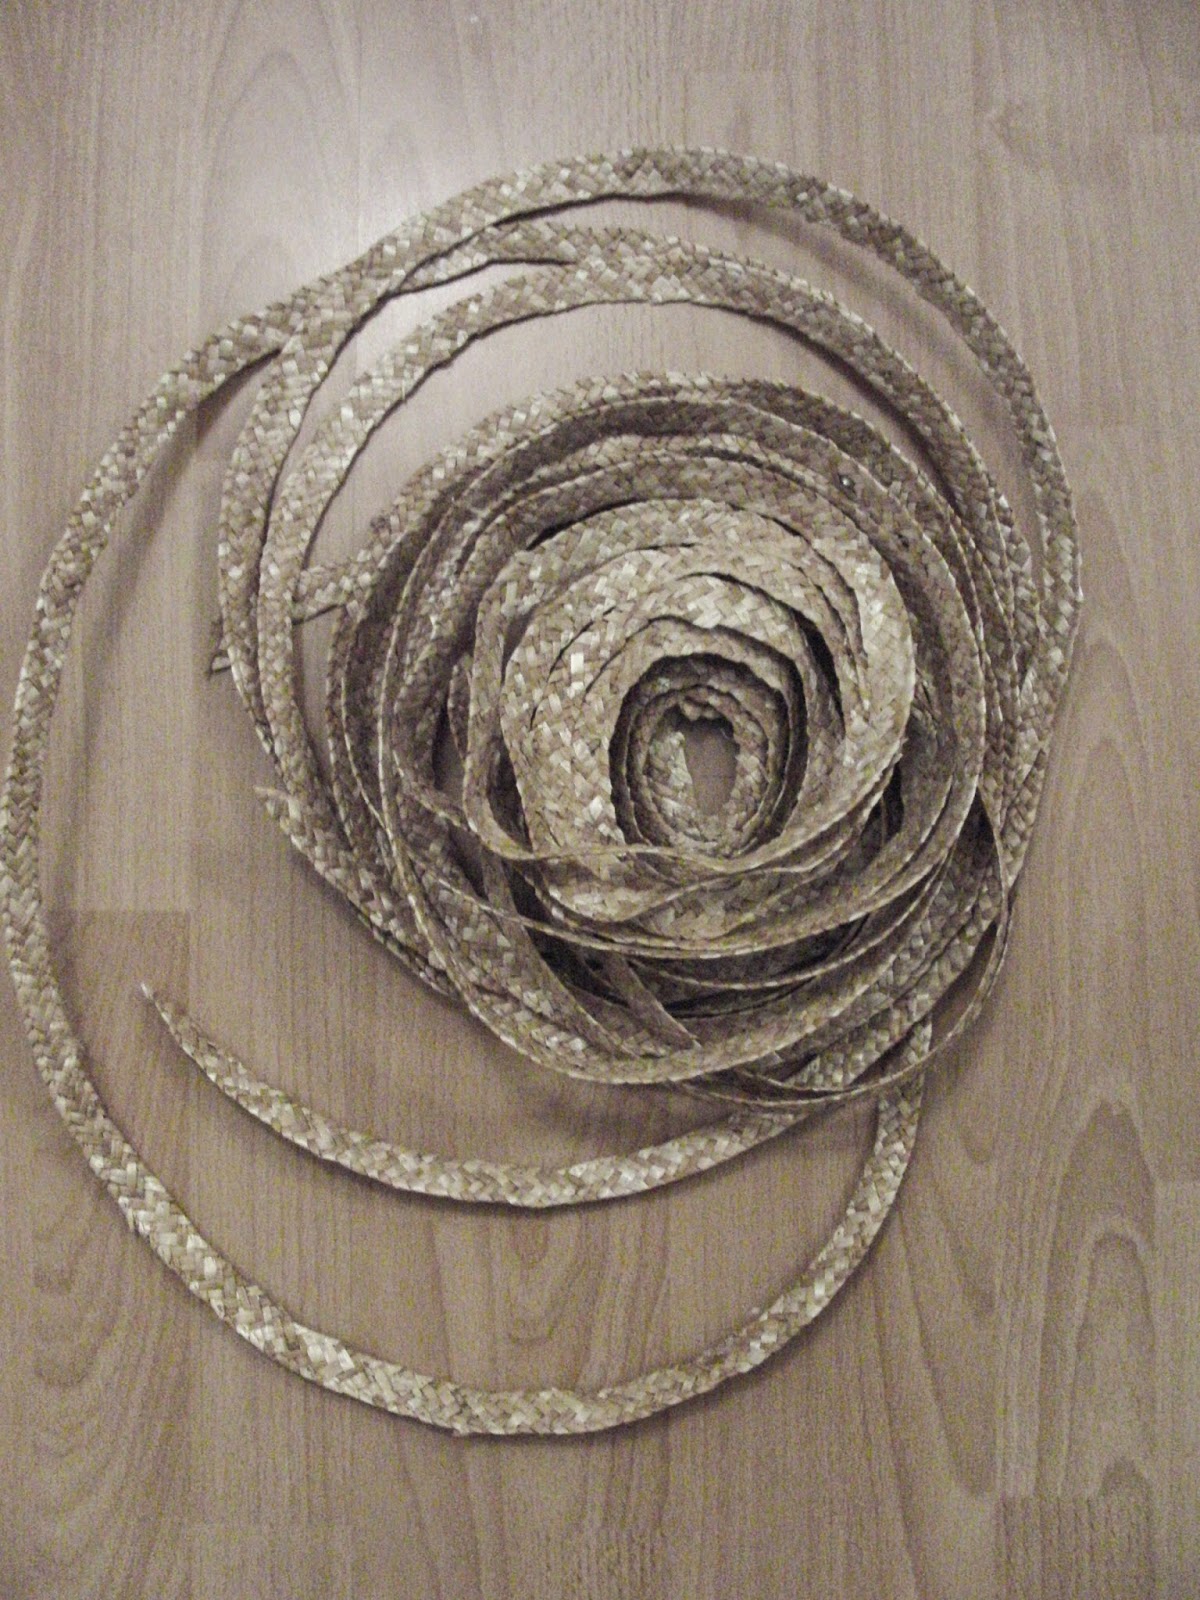
Then I ripped apart the old hat to get a long braid of straw.
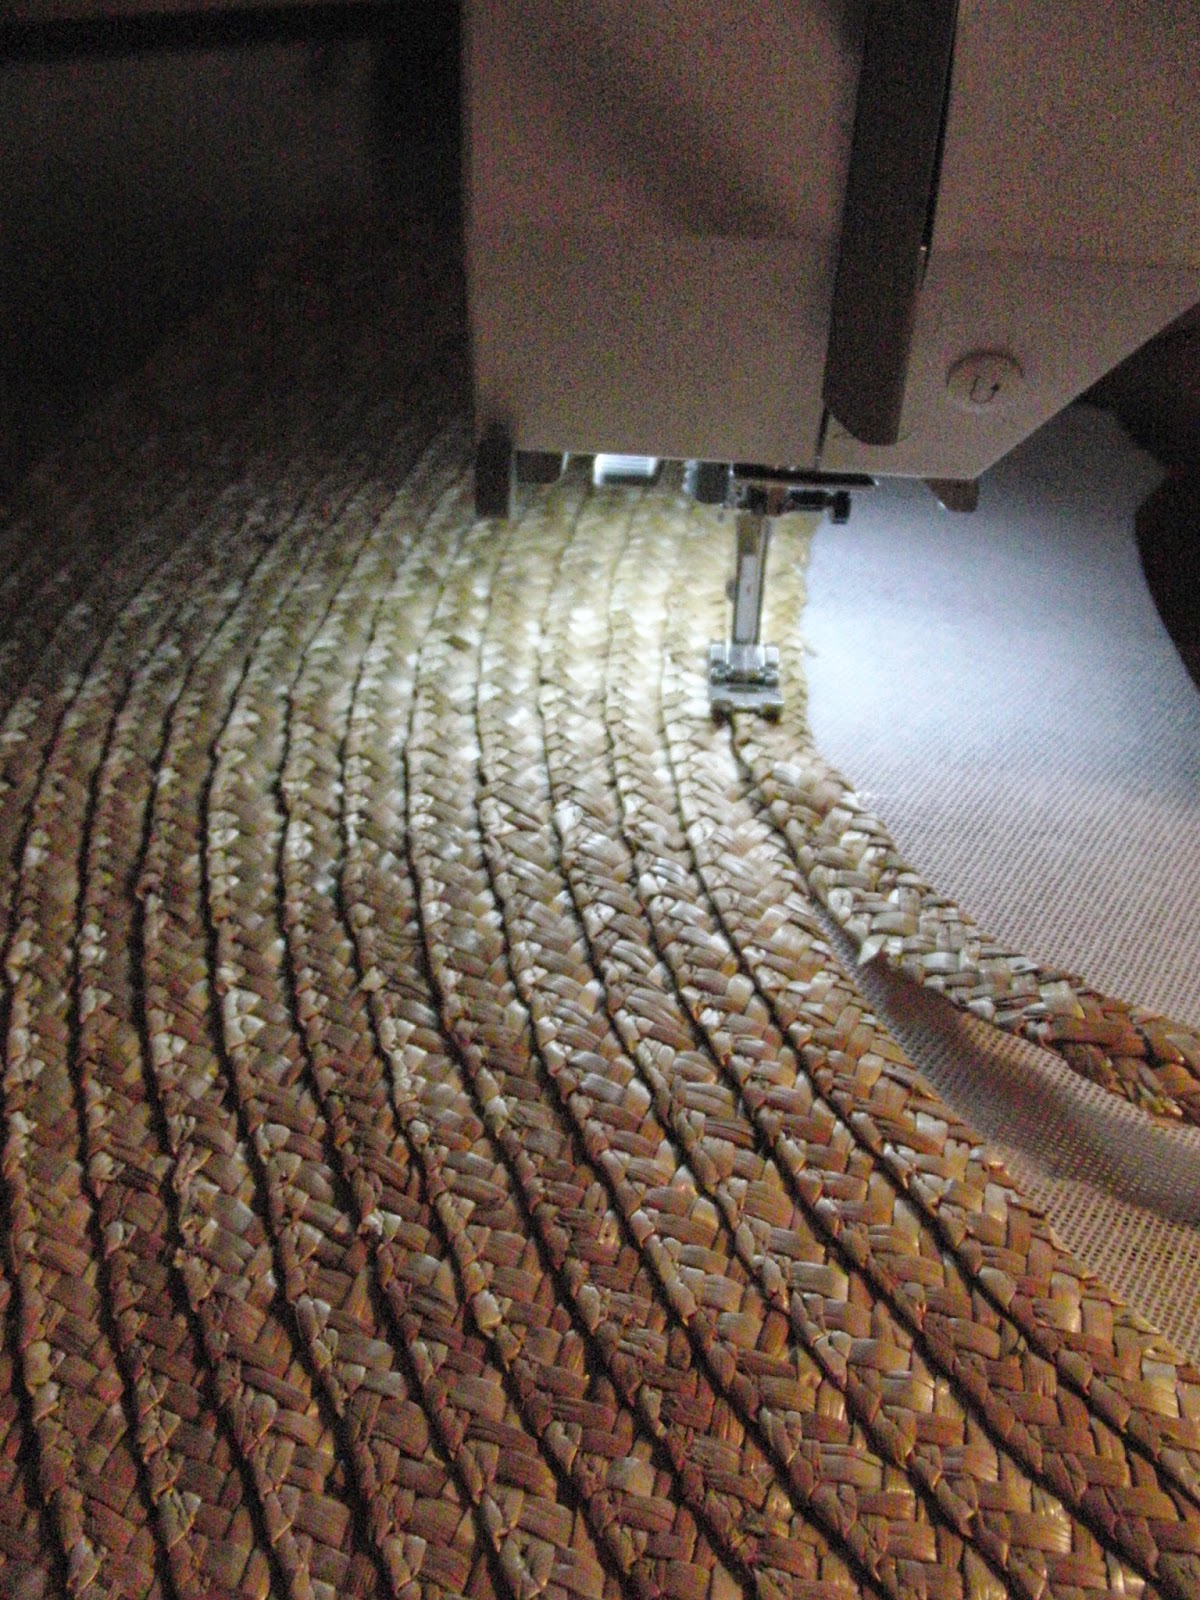
This braid is sewn on the buckram line by line. I am starting on the outside edge.
Since one hat wasn't enough I used some more straw from a second hat..




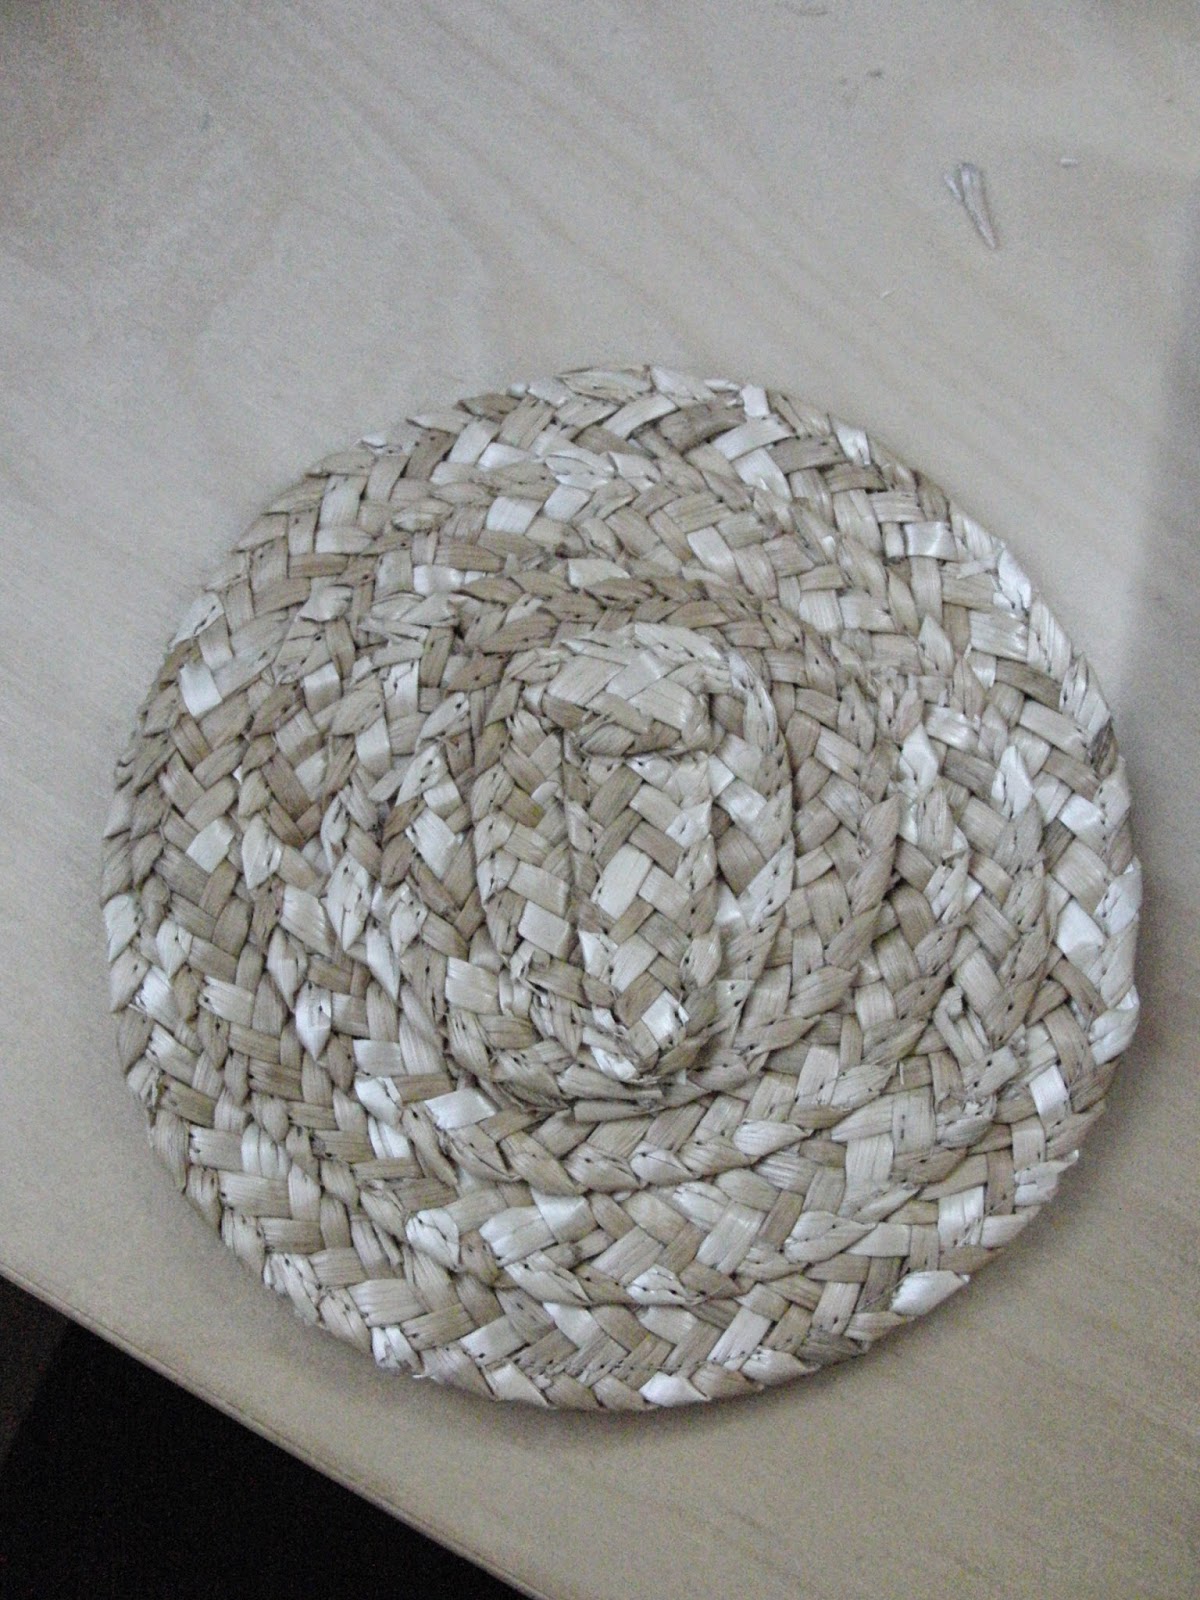
The crown is made from the original crown, but re-formed. I arranged the circle, drained it in hot water and pressed it overnight between towels and under a heavy tower of books.
This is the crown still a little damp.
After the straw dried, I stitched it to the crown tip from outside to inside.


And here are the finished all neatly trimmed pieces waiting to get assambled.

For the lining I am using my white cotton batist from my stash. I want the lining to be neatly pleated and covered by the first braid of straw on the outer edge.


I pinned the pleats and then turned the seam allowance up and under the straw. Then I glued the fabric to the straw.
Every pleat is fixed with thread in two places and glued again on the inside edge.


Then the crown is attached to the brim. I wanted the stitching to be invisible, so I used a brownish thread to match the colour of the straw. If one takes a very close look, one would see the stitches though.


This is how far I got. Now I have to attach the bavolet and do some trimmings.
I really love the way it frames my face...


