Since I am on vacation this and next week I finally have time on my hands to sew!
My choice fell upon a new hat. I wanted something rather quick to finish and to use up stash materials.
I have used the pattern (Lynn McMasters Regeny Bonnet) before, but this time I chose a double brimmed version to have a little challenge. The only adjustment I made was on the ties. As you may remember I disliked the length of the ties on my 1st Regency Bonnet, so this time I made them longer and also double layered.
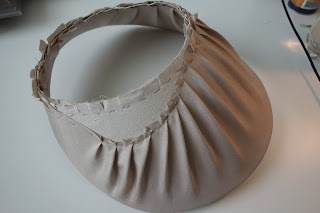
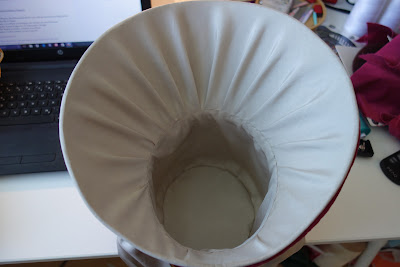
The first challenge came pretty fast! While covering the under brim I had to discover that the pattern piece is obviously too small! I never had problems like that with a hat pattern before and I could not recut the fabric, because it was a stash leftover (Grandmas Thai Silk from the 90s). To make it work anyway I pulled enough fabric to the underside of the brim, so it wold be covered entirely. The upper part would be covered with the second brim, so the uncovered part won't be visible.
The upper brim is lined with a heavy woven interfacing instaed of buckram to make it more flexible.

To avoid a bulky brim I turned under the seam allowances and used a ladder stitch to join both parts.
Origially I had planned to base the trimmings on the cover illustrations of the pattern. Two hatbands, a cockade, some feathers...
 |
| Lynn McMasters Regency Bonnet |
It had to be this beautiful bonnet!
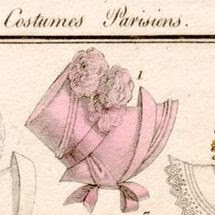
Also, around the same time I noticed that the July challenge of this years HSM is "Fashion Plate". I have not finished a challege in over a year! Hurrah!
Since there was absolutely no pink fabric left I had to join some bias strips of the beige coloured silk taffeta to make the double piping for the crown sides and the lower brim. Nearly everyting from the taffeta was cut on the bias, so I had some small pieces left over.
 |
| As usual I made a small testpiece... |
 |
| The piping on the crown sides was attached using a running stitch |
 | ||
| The piping on the brim was attached using a large backstitch, since small stitches were not possible |

And finally my new bonnet was finished.
The Challenge Details:
The Challenge: #7 Fashion Plate
Material: 1 cotton velvet cushion cover from IKEA, 1x0,9m silk taffeta, cotton muslin as mull
Pattern: Lynn McMasters Regency Bonnet
Year: 1812
Notions: millinery wire, woven interfacing, buckram, ostrich feathers, piping cord, polyerster thread
How historically accurate is it? The wire and ties were sewn on the machine and glue was used covering the upper brim. Everything else is spot on.
Hours to complete: 10
First worn: Not yet
Total cost: If bought new about 30€ for the materials.


Keine Kommentare:
Kommentar veröffentlichen